

Standard Panic Activator Enrolment

In order to avoid any confusion or misinterpretation the following procedure has been drawn up. The primary objective of the procedure is to establish standards of how to enrol and manage the BeSecure Standard Panic Activators on a BeSecure Village site.
Standards allow for quicker installation time and faster fast turnaround on fault finding. BeSecure will sign off all completed installations based on the standards listed in this document.

Tools Required
In order to successfully complete all the possible tasks relating to the management of the Personal Activators you will need the following:
A PC with an internet connection and an HTML5 compatible browser
An admin account on your BeSecure site
A BeSecure Sniffer (BHI1008-001-01)
A No.2 Phillips screwdriver
A battery tester to test 3V CR2 batteries
Software Enrolment of a new Standard Panic Activator
Process preparation
Remove the Personal Activator from the packaging
Remove the belt clip
Locate the screw and set it aside
Remove separate the lid from the base
Plug in the BeSecure sniffer to the PC
Steps
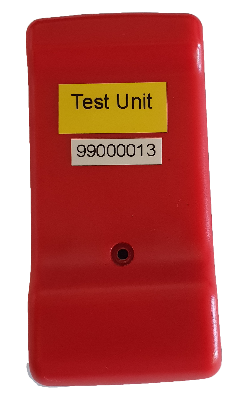
Turn the base over and locate the serial number sticker on the back of the unit
The number will look like “99000013” or “98000012”
Login to the BeSecure admin interface
Go to the menu Configuration>Panic Activator>Panic Activators>Add new activator
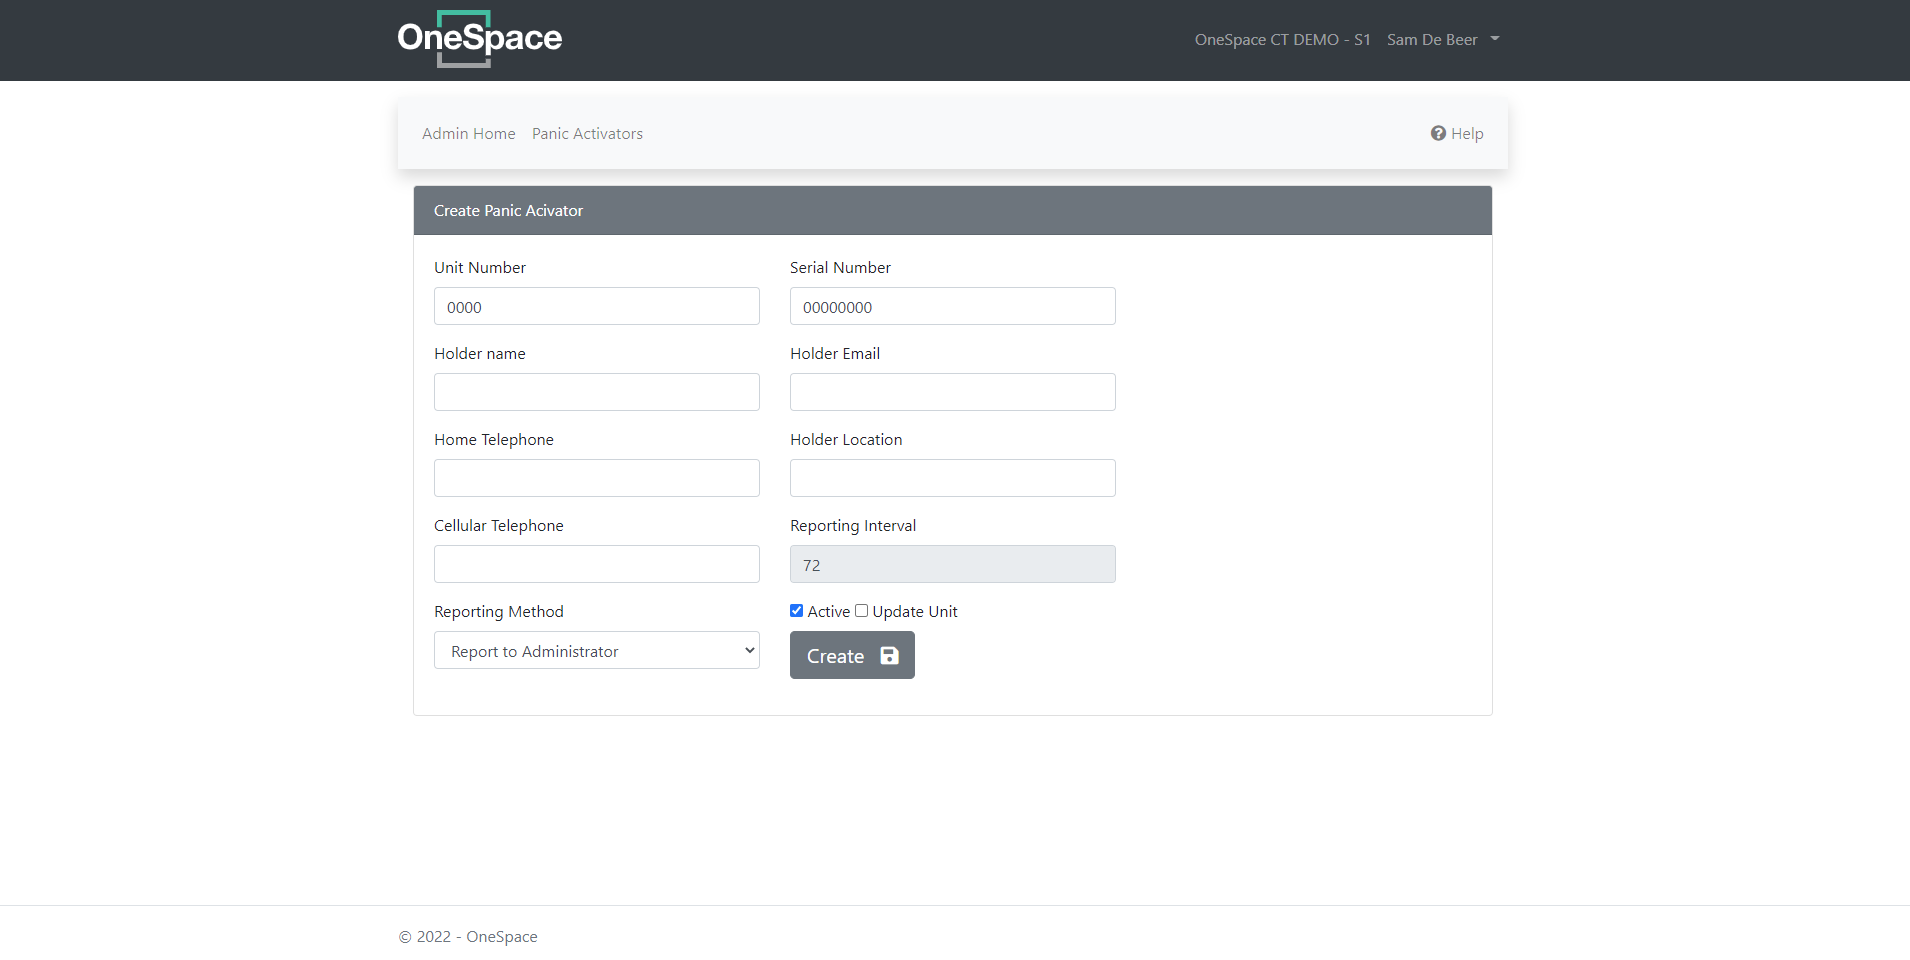
Fill in all the user details
Note that holder e-mail and Cellular Telephone are mandatory
Once the form is complete select “Create”
Read the Panic Activator Serial Number
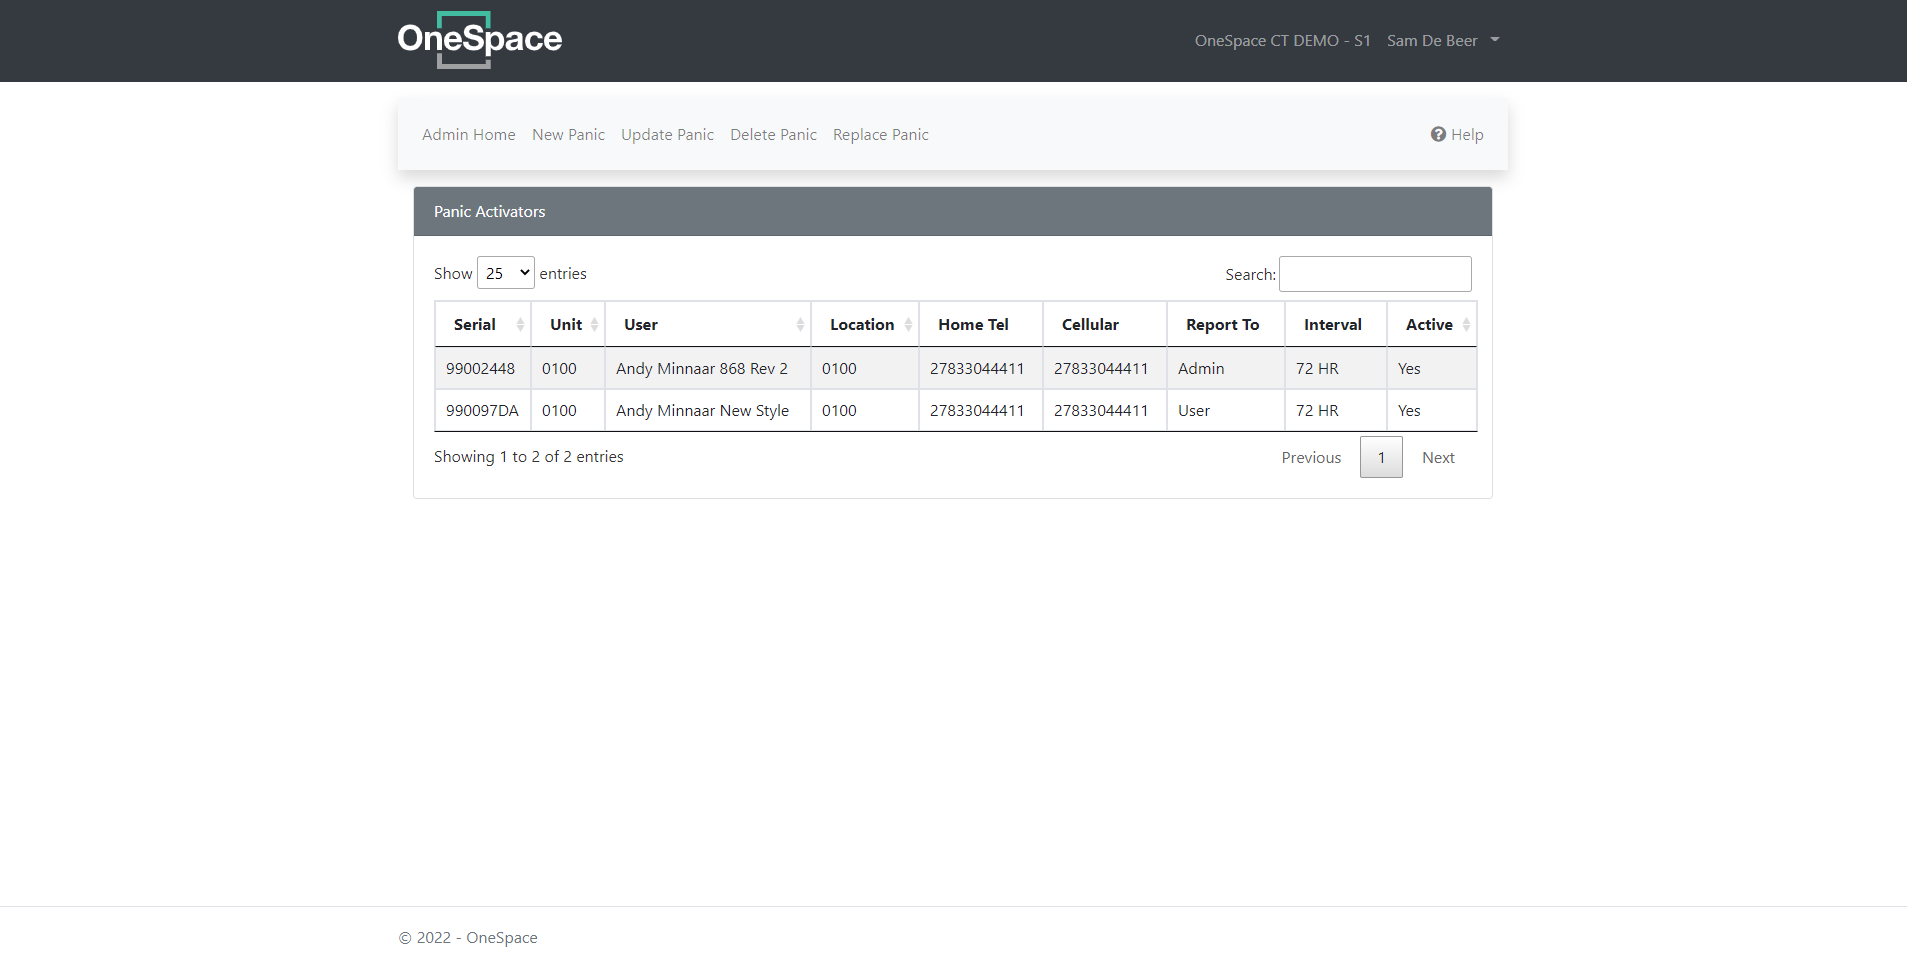
Select New Panic
Insert User Details and select Create
Registering the Standard Panic Activator on the site
Once enrolled in the software the Standard Panic Activator needs to be paired with the site and have its configuration downloaded so it knows how to perform.
Steps
Insert the battery into the Panic Activator
You will feel a short buzz as it wakes up
Wait 10 seconds
Press the blue button and wait for a longer buzz
The Panic Activator is now active on the site and can be closed up and given to the user

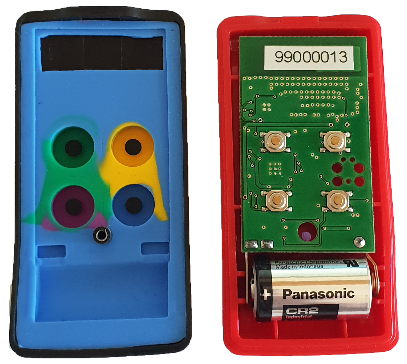
Ensure that the “+” side of the battery faces away from the spring.
Standard Panic Activator Management
Once the Panic Activators are configured and active on the site they will need to be monitored and managed. This function can either be fully managed by the site administration team or managed between the user and the site admin.
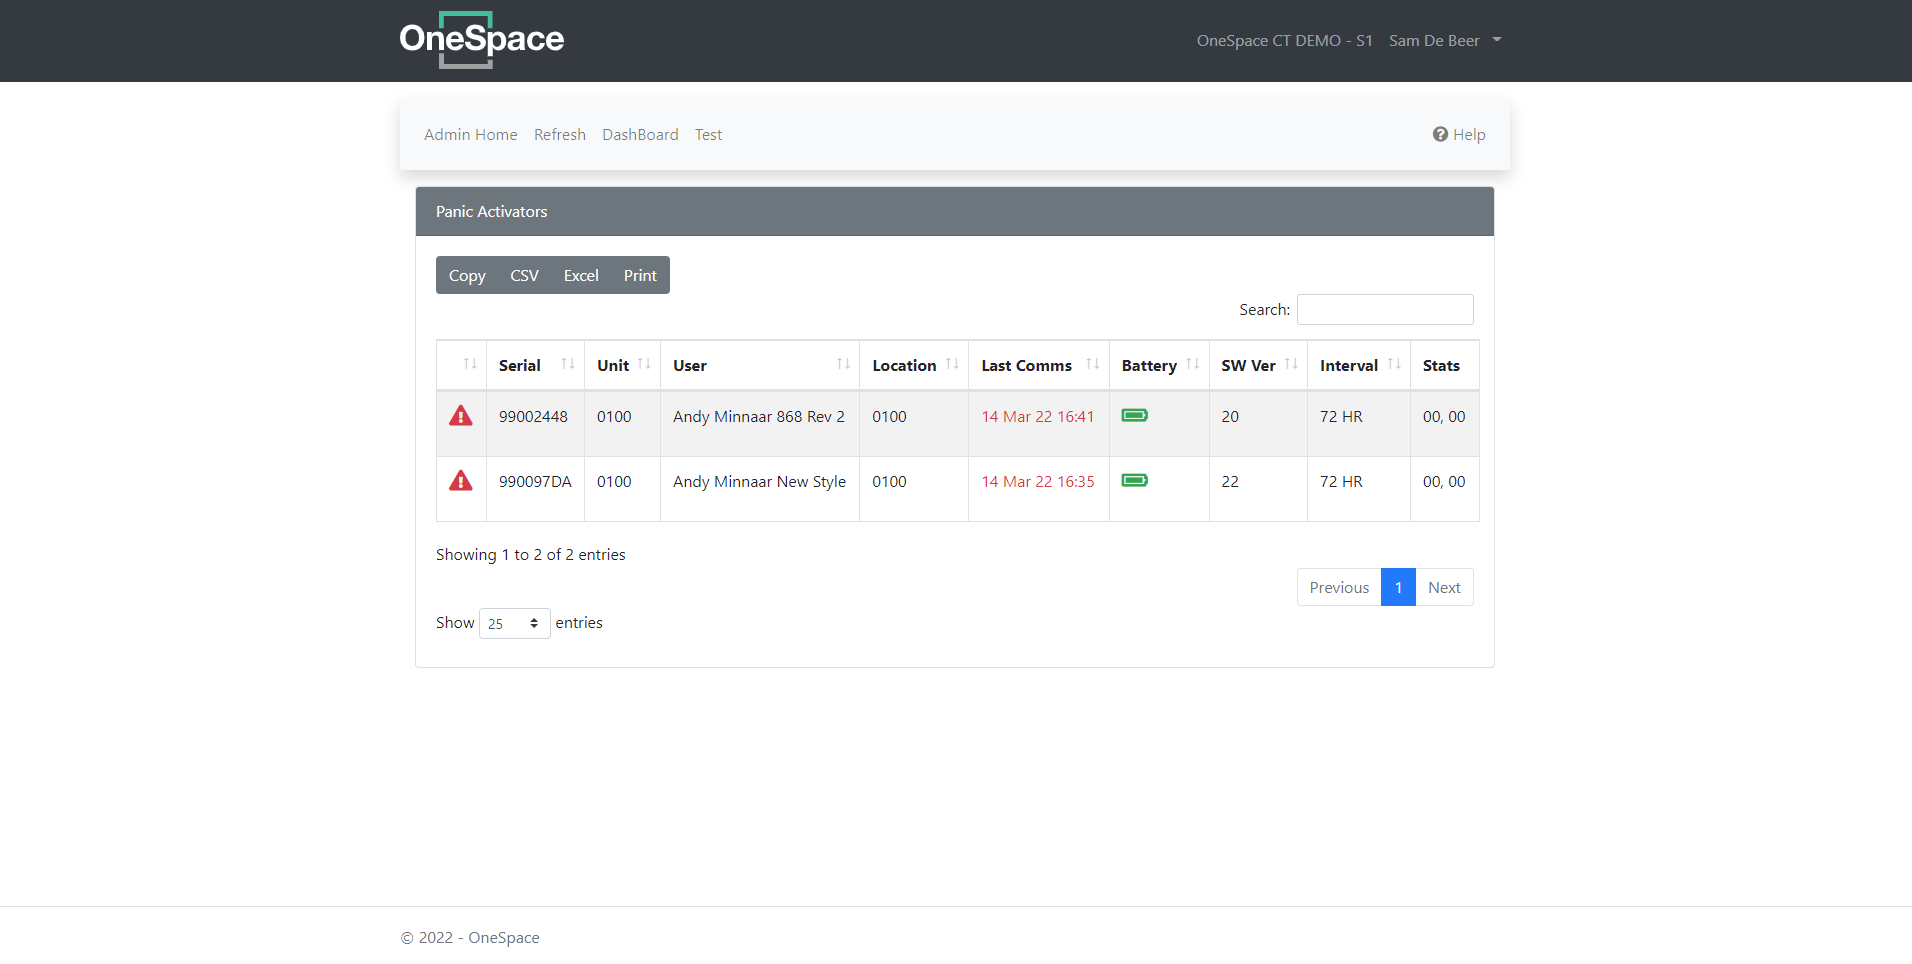
There are three states that the Panic Activator can be in:

Green tick – The device health is good and it has reported in as expected

No Activity (Black stop sign) – The Device has been set as inactive by a site administrator

Red exclamation mark – The device has not reported in for an extended period and needs administrator or user intereaction to test
Standard Panic Activator Test Options
There are a number of reasons why a site administrator or user may need to test a Panic Activator. This is most commonly done when the device is first set up however it is good practice to run through test cycles with all users, so they feel comfortable using the device and are reminded of its functionality.
Test Feature
The Test feature has been designed for more thorough testing and is generally selected for first time users to allow them to test the device in their cottage or flat or around the estate. The Test feature works in the same way that the Mute feature works but remains active for 60 minutes.
In this test the user requests the test and the site admin places the unit in a “Test” state. The following points apply.
For 60 mins the system will NOT generate an alert in Frail Care or send out SMS’s to first responders from 60 minutes from when the Test button is pushed.
The Sounders configured will sound as before to indicate that the button press has been received.
The user will received a SMS each time they push the button confirming that their Panic Activator has been tested and is working as expected.
At the conclusion of the 60 mins the system will return to normal operation for that Panic Activator – i.e. the next button press will send out alerts and SMS to all configured end points.
Steps
Go to Home>Reports>Panic Activator Status>”Select the respective device from the list”
Click on the device (it will turn the line green)
Select “Test” from the menu option above
Press any button on the Panic Activator being tested
Wait 20 seconds
The Panic Activator should have vibrated
The configured sounders should have activated
The User should have received an SMS confirming the test is complete.
Wait 5 minutes between tests to allow the system to conclude all escalation models in place before the next test.
Repeater points 10 & 11 as required to ensure complete coverage of the cottage or flat.
NOTE: Each button push will generate an SMS to the user. Each SMS is charged for.
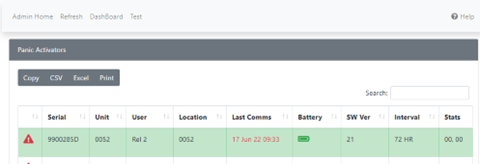
Select the unit you want to test (it goes green) then select Test
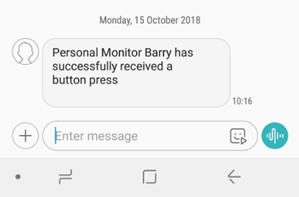
The user will receive a SMS like this after each button press.
FAQ’s
-
There are a number of possible reasons for this. Most of the reasons centre around signal strength and the proximity of the unit during its report back time.
It is important to remember that each Panic Activator is set to report in at a specific time of day. If it is not on site or is in a physical location that in some way impeded its ability to report in it could miss that report period.
-
The health monitoring feature on the BeSecure Panic Activators is designed to give peace of mind to our customers. If, in the unlikely event, the Personal Monitor has missed its check in period it this will not impact on its operation at all.
A valid button press, or a registered high impact fall will still report in as expected and the vibration received will be confirmation of this action.
SMS Testing
Your BeSecure Panic Activator should be checked on a regular basis in order to ensure that it is always in working order and ready for use.
When the panic activator is issued to you, the administrator at reception will test the activator before handing over to you. Thereafter, once a month the BeSecure system will send an SMS message to your cellular phone asking you to test the activator.
The message will look something like this:
Your panic activator <your name>, <serial number> needs a monthly test. Please arrange to test.
Your name will appear in the <your name> field and the activator serial number will appear in the <serial number> field.
You should as soon as convenient thereafter go to the Administration reception desk and let the administrator know that you have received the message. The administrator will ask you to press a button on the panic activator. If the activator is working normally, it should vibrate and you will receive a message as follows:
Personal Monitor <your name>, has successfully received a button press.
This means that the activator is operating normally and you are set for another month before the process is repeated.
If you wish to know more about your panic activator you are welcome to view the end user videos.
They are available at the following Internet URLs:
https://www.screencast.com/t/y6twEYK0JyS5 and https://www.screencast.com/t/WTApxirmg1G
Troubleshooting
There are a number of scenarios that would require corrective action on behalf of the admin.